 |
 |
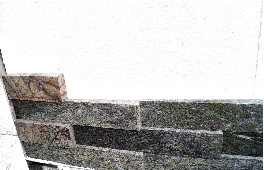
| Coper – slate quartzite | Forest Green & Brown – marble |
 |
 |
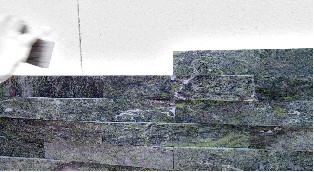
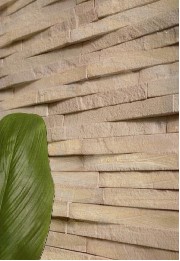
| Deoli Green – slate quartzite | Rainbow – sandstone |
 |
 |
| Silver Shine – slate quartzite | Teakwood – sandstone |
Description:
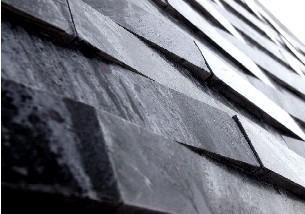
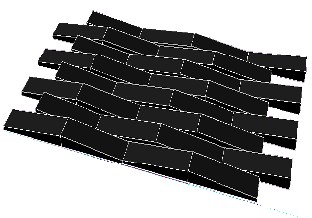
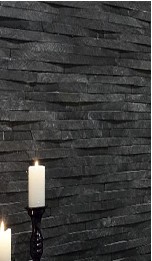
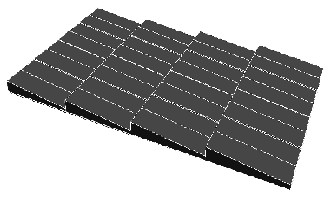
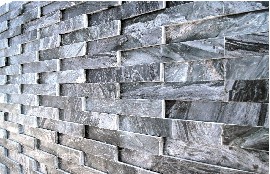
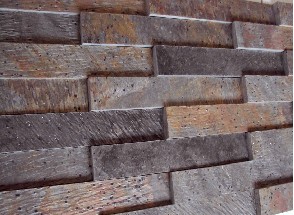
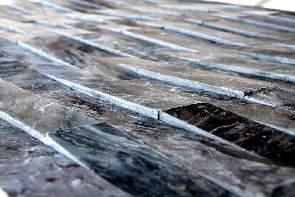
LAPS plates are produced in the form of a wedge unique 300x50mm size and height of 5mm from the lower side and 15mm from the upper part. This shape allows the builder the tiles to get several different forms, and visual effects. Suitable install tiles LAPS allows for 3 – dimensional effect in both horizontal and vertical.
To achieve the desired visual effect, we suggest before assembly prior arrangement of tiles LAPS “dry”.
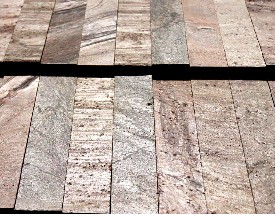
At the moment LAPS tiles are available in several grades slate quartzite, sandstone and marble.
Examples of stone colors are shown in the pictures above.
Selection :
Before buying tiles LAPS suggest you contact the company ARTSTONE to select the right type of stone for a specific project. A representative of our company to advise you that the stone should be used inside and outside the building, and what kind of adhesive and waterproofing should be used for mounting and security.
Application:
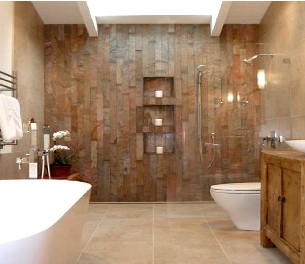
LAPS tiles can be used both inside and outside the building in private homes and public buildings. The most common application are as decorative elements of bathroom and shower walls, paneling and fireplaces, space between countertops, kitchen and cabinets, facade elements of internal and external walls of buildings, housing fences and other decorative surfaces.
- LAPS tiles can be installed using standard tools and adhesives for ceramic tiles and stone
- Cut tiles should be wet with a machine equipped with a diamond blade
- To clean the tiles after cutting using clean water. The use of harsh acid based may cause some discoloration and tarnishing stones polished surface!!!
- After installing the tiles LAPS and suggest them completely dry impregnation. In order to choose the appropriate type of impregnation, please contact an employee of ARTSTONE. Properly arranged and secured the plate does not have to be grouted.
INSTALLATION GUIDE
Step 1: Floor tiles should be clean and dry. This will give structural strength and better adhesion of platelets to the substrate of both LAPS concrete, gypsum wall board and plywood type. Natural underside of the tiles so far should not be impregnated before laying!!! Impregnation we ALWAYS after installation!!!
Step 2: Depending on the desired visual effect LAPS suggest fitting the plates start from the bottom to the top of the wall. Corners should be shared about half the length of the plates.
Step 3: When installing two or more wall tile installation we suggest you start with the installation of tiles corner.
Step 4: Start from the corner as shown in the above image to get the desired visual effect.
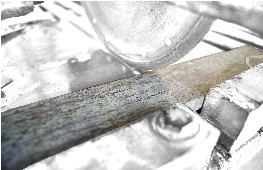
Tip: hen cutting tiles LAPS always wear gloves and goggles or safety glasses eyes. Do not use excessive force to cut the tiles to prevent them from cracking.
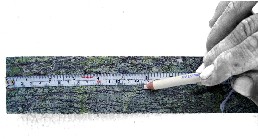
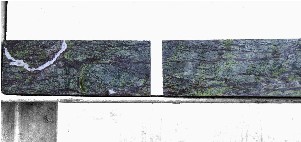
Step 5: Using the acute water-cooled diamond blade plate can very easily cut to any size.
LAYING PATTERNS AND TEMPLATES
Template – 1
User: Mount plate in one direction so that the lower end of the plate in contact with the upper end of the plate and place them in rows starting from the bottom and upwards following the wall in the building each column.
Template – 2
User: Mount plate in the same direction so that the lower end of the plate in contact with the upper end of the plate and place them in rows. After placing 1st-order start lay another row starting with the laying of the first plate exactly in the middle of the plate with the bottom row.
Template – 3
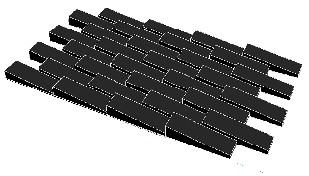
User: Mount plate in the same direction so that the lower end of the plate in contact with the upper end of the plate and place them in rows. After placing 1st-order start lay another row starting with the laying of the first plate in exactly one quarter the length of the bottom row of tiles.
Template – 4
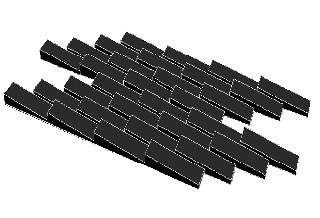
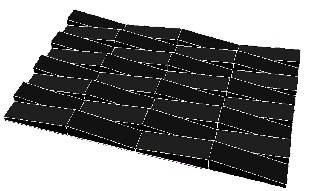
User: Mount plate in the same direction so that the lower end of each plate in contact with the lower end of the second plate and the upper end of each plate in contact with the upper end of the second wafer and place them in rows. After placing the 1st-order to arrange a second row start stacking the first plate starting exactly in the middle of the lower row of tiles.
Template – 5
User: Mount plate in the same direction so that the lower end of each plate in contact with the lower end of the second plate and the upper end of each plate in contact with the upper end of the second wafer and place them in rows. After placing 1st-order start to arrange a second row starting with the laying of the first plate in exactly one quarter the length of the bottom row of tiles.
